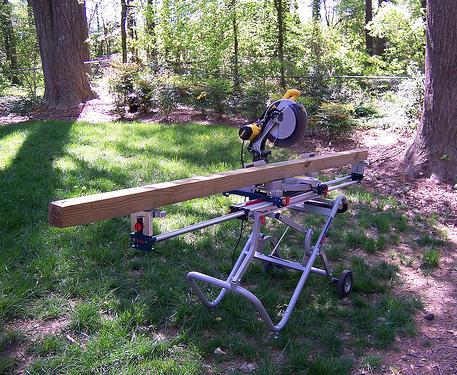
Building a mailbox post is easy and does not require any wood working skills. Making your own is cheaper than buying pre-fabricated ones at home improvement stores. You don’t need many materials or tools to complete this project, just some lumber and a hand or power saw.
Typical mailboxes are 42” off the ground and are set a minimum of 1’ into the ground. If you’re not going to cement the post in the ground, it should be more than 1’, closer to 3’.
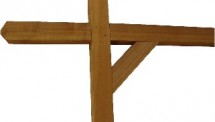
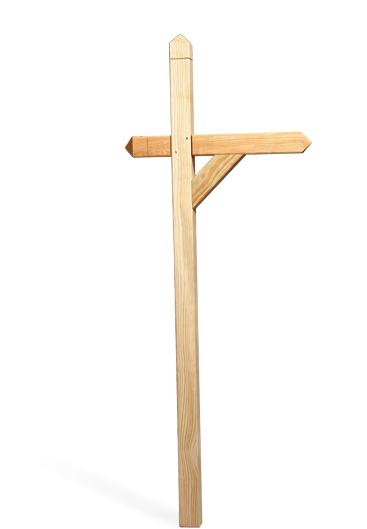
The simplest design is in the shape of a T. This design involves having the post being slightly taller than the board that the box is resting on. There should also be an approximate one foot board that goes the opposite direct of the board that the mailbox is resting on to improve appearance. Make sure to paint the lumber before you assemble the boards together and attach the box.
How deep you dig the hole for the post depends if you’re cementing it in place. A typical uncemented hole should be at least 2’ deep, but optimally 3’. If you’re anchoring it in place with cement, a depth of 1’ is more than enough. Make sure to use a level to even it out before the cement dries.

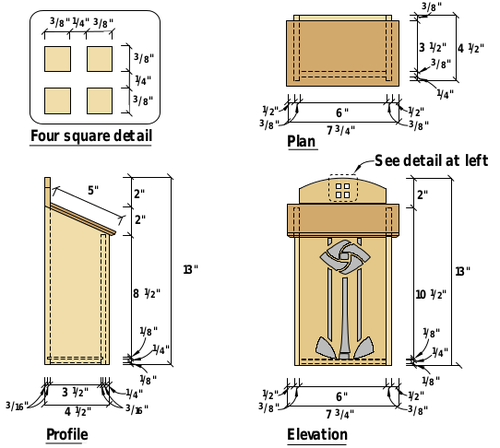
You can add decorations to your post by cutting out different shapes on a band saw. You can screw them to where the post meets the board the box is resting on at a 90 degree angle to break up the overall plain appearance. You can also add a knob on the top of it for added looks.
A mailbox post is not always made from wood. Other common materials include metal or even granite. However, these are typically more expensive and harder to install. A high quality wood such as cedar looks great and matches its surroundings.
Once you’ve built the post, the next step is installing it. Don’t worry, it requires very little time and materials.